Events Management
 Processing Request
The Events Management Tool allows you to manage all your events and program listings with online registration.
- Navigate to the Events Management tile.
- Click ADD NEW
- Enter the name of your event in the ’Title’ field

4. Enter a start date/time
OR Enter both a start and end time
-
To include the end time, make sure the ’Show End Date’ checkbox is checked
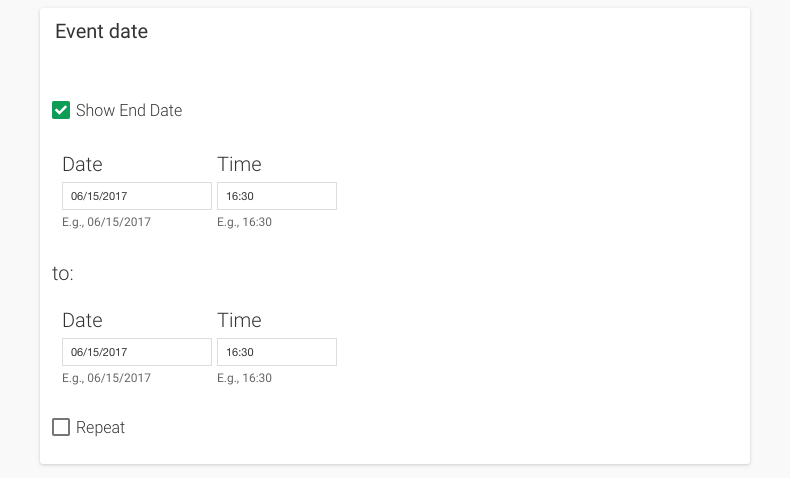
5. IF your event will be repeating, check the ‘Repeat’ checkbox
Note: If the event is set to repeat, patrons who sign up for the repeating events will be registered for all events in the series. There is currently no option to select a single date for a repeating event.

-
Choose whether the event will be set to repeat daily, weekly, monthly, or yearly from the ’Repeats’ dropdown menu
-
Complete the fields to set the repeating schedule, including when the event should stop repeating
-
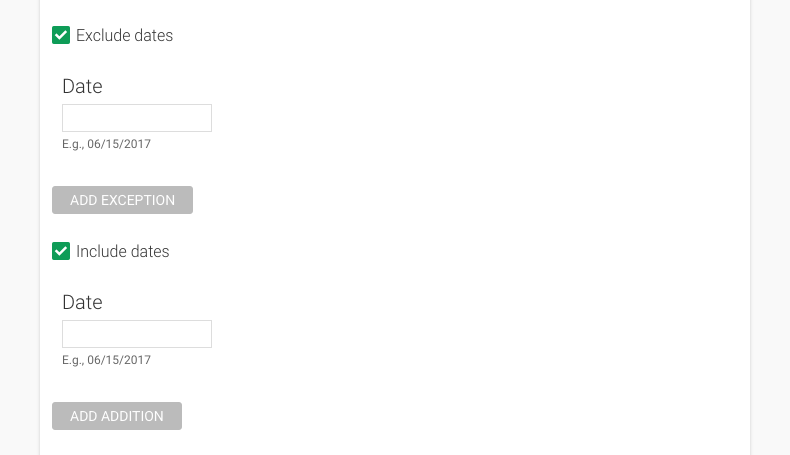
Set any dates that should be excluded or included outside of the set schedule
6. Optional Set the Type, Topic, and/or Category for the event
TIP: You can select multiple Categories by pressing the CTRL key on your Windows keyboard, or CMD on your Mac keyboard and clicking each category that should be linked.
7. Enter the location associated with the event

8. In the ’Body’ WYSIWYG editor, include the description of the event, information for participants, etc.
-
This could include text, links, and images

9. To attach additional files to your event listing, click CHOOSE FILE under ’Add a new file’

10. Continue attaching as many files as needed
11. Once all files are added, click UPLOAD to attach them
12. To include an image to be displayed alongside the event details, click BROWSE under ’Image’

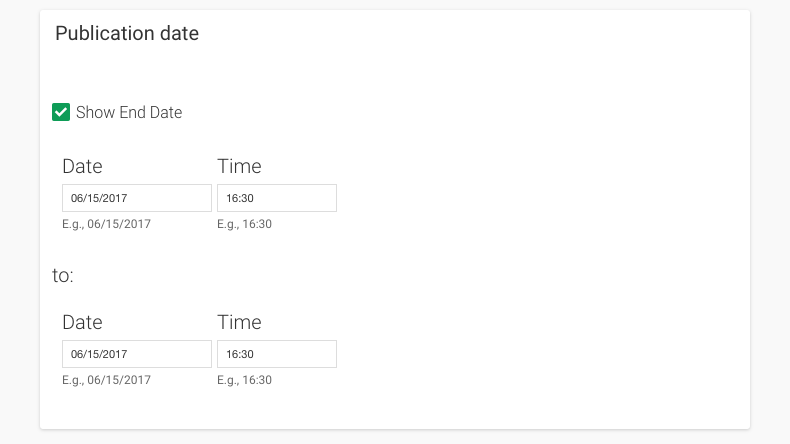
13. Complete the ’Publication Date’ section
-
Stacks allows you to choose not only when an event listing will be published for viewing by users, but also when that listing will close
-
Event listings may be created well ahead of time and scheduled to be opened or closed to users at specific, scheduled dates
-
To publish an event immediately, make sure the present date is set; otherwise, set the publication and end dates as needed
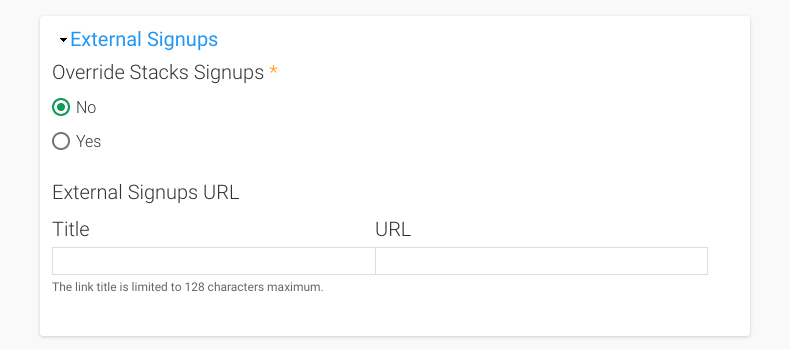
14. Optional To link to a third-party signup or registration page, complete the ‘External Signups’ section
-
Select ‘Yes’ under ‘Override Stacks Signups’
-
Provide the title for the external signups link
-
Provide the third-party URL
15. Click 'Signup settings' at the bottom of the screen
-
Choose whether to enable or disable signups
-
Check whether to allow user to sign up for this event when first registering on the site
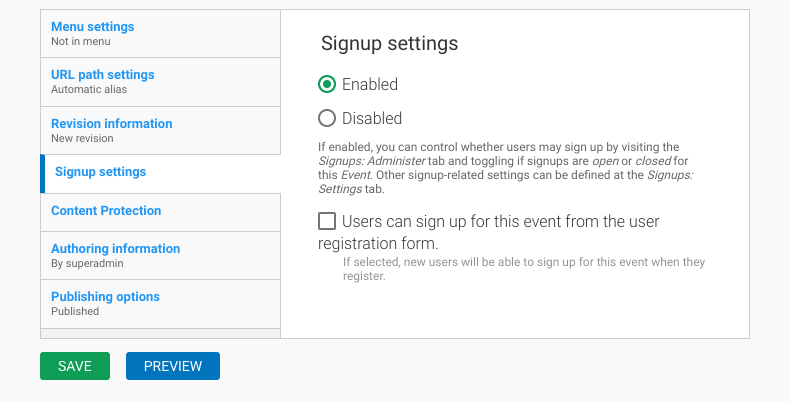
16. Click SAVE to create the event
- Navigate to the Events Management tile on your dashboard
- Click Edit to the right of the event
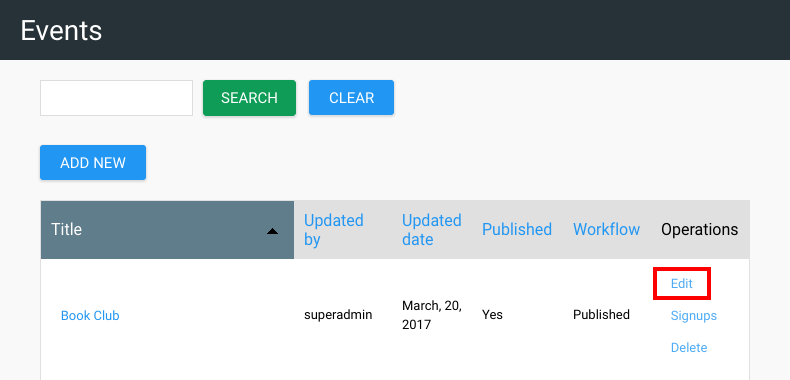
3. Make any necessary changes to the event
4. Click SAVE to apply your edits
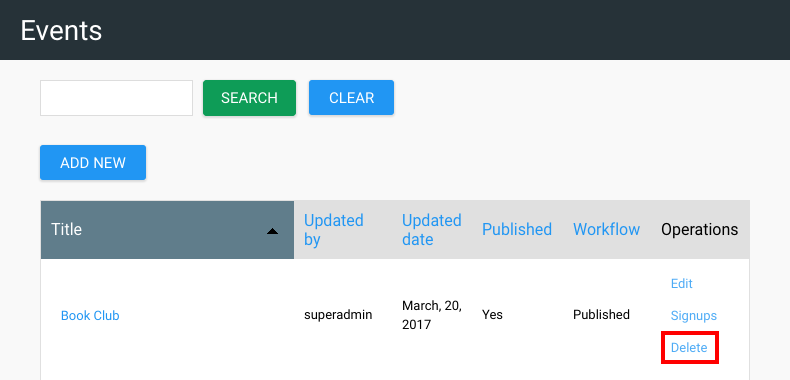
- Navigate to the Events Management tile on your dashboard
- Click Delete to the right of the event
- Click DELETE to confirm the removal of the event
You can book a room after you create an event from the Events module. Once you have created the event, you will need to save the event. Now, when you edit the event, you will have an option to book a room for the event.
- Create your event.
- Save your event.
- Click on Edit to edit the event.

- You will now see a button option to book a room
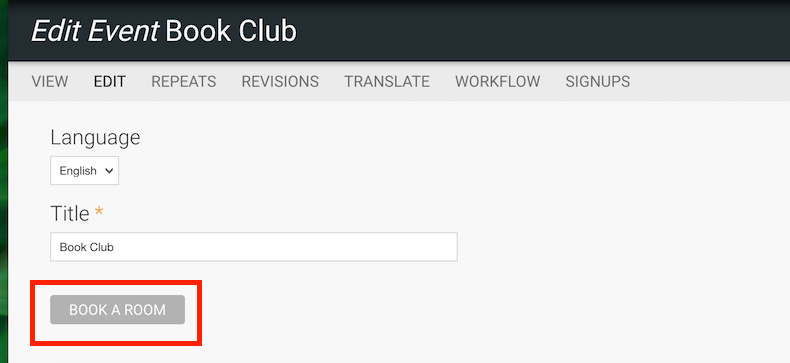
- Click the 'Book a Room' button
- You will see options to adjust the time and room options
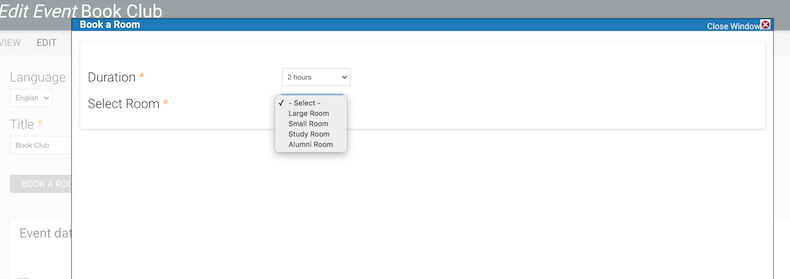
- You will see a message confirming that the time and room specified is available, or that there is no availability for the room at that time. Confirm your booking.
- Click 'Save Configuration'
- You will now see the room as booked for your event in the 'Room Booking' tile.
You can configure unique signup settings for each individual event.
- Navigate to the Events Management tile on your dashboard
- Once an event has been created, click 'Signups' to the right of the event
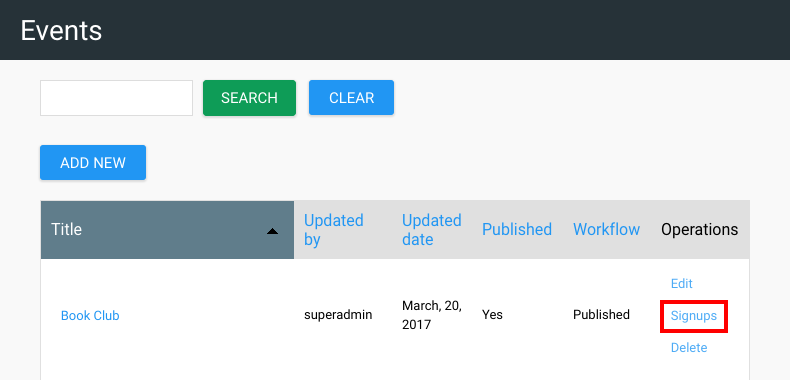
3. The ‘Administer’ tab displays the total signups and the signup limit and allows you to set signups to either ‘Open’ or ‘Closed’
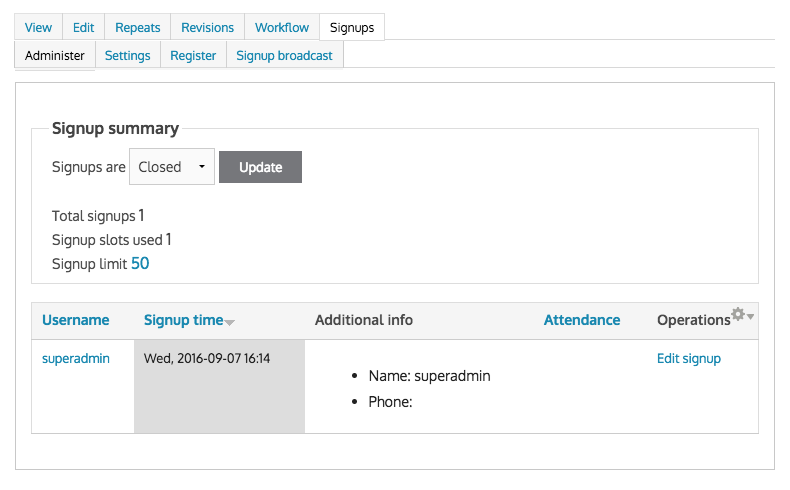
4. Use the ‘Settings’ tab to configure e-mail responses to signups: confirmation to the event owner, signup confirmation to the participant, and a reminder email
5. Enter the email that signup confirmation notices should be sent to

6. Check whether to send a confirmation email to the participant

7. Optional - Customize the confirmation email using the ‘Replacement Tokens’ as needed
- Using these tokens allows you to dynamically include items such as the current date, the title of the event, etc
- Example: Thank you for signing up for the event: [node:title]
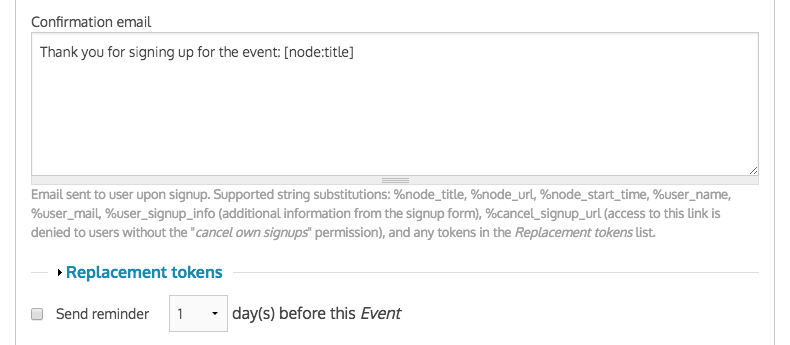
8. Check whether or not to send a reminder email to the participant
- IF this box is checked, select the number of days prior to the event that the email should be sent
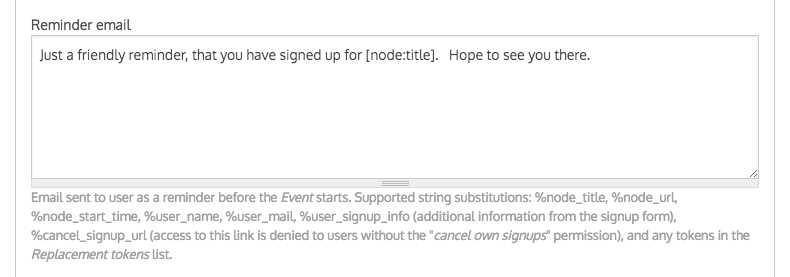
9. Optional - Customize the reminder email using the ‘Replacement Tokens’ as needed
- Using these tokens allows you to dynamically include items such as the current date, the title of the event, etc
- Example: “Thank you for signing up for the event: [node:title]”
10. Enter the max number of signups (‘Signup limit’)

11. Click 'SAVE CONFIGURATION'
V 2.1.4
Stacks allows you to sign users up for events without them being logged in. For example, a staff member could sign up a user for an event over the phone.
- Navigate to the Events Management tile on your dashboard
- Click Signups to the right of the Event from the list

- You will be directed to the Signups page for this event
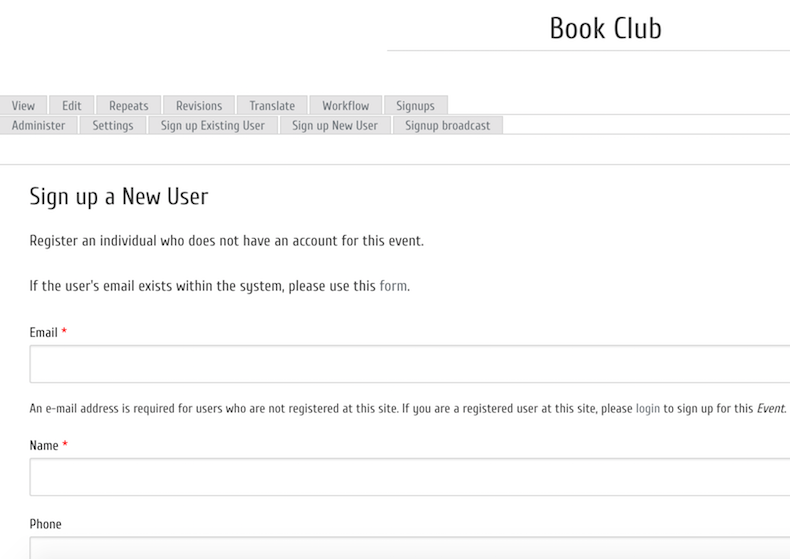
- Choose 'Sign up New User'
- If you use 'Sign up New User' you can just put in the patron's name and any email address that they have. Stacks tracks users by email address so you will have to enter an email address here. There is also a field for phone number here.
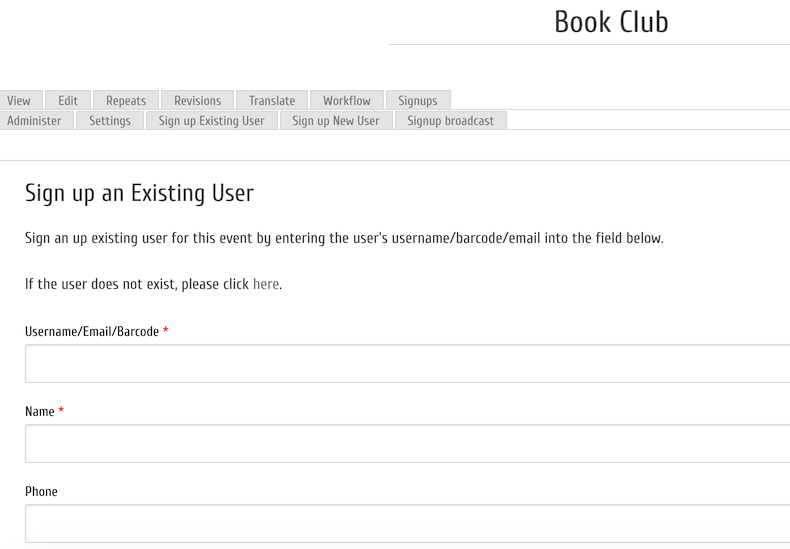
- Choose 'Sign up Existing User' to sign up a current patron - you will be asked to enter the patron's user name, email address used in Stacks, or barcode
- Enter the Captcha information
- Click on 'Sign Up'
- If you sign up an existing user, the signup will appear in their Patron Account
- If you sign up a new user, they will receive an email reminder for the event if you have configured these emails
Once a minimum of one user has signed up for your event, you can craft custom messages to send to all the participants of a particular event.
- Navigate to the Events Management tile on your dashboard
- Click Edit to the right of the Event in the Events list
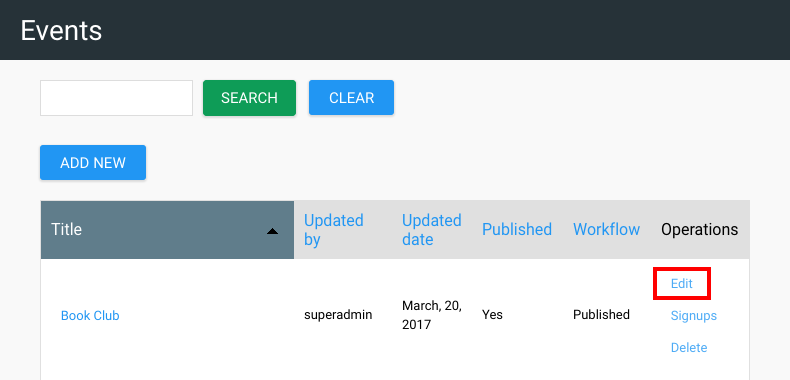
3. Click the ‘Signup broadcast’ tab

4. Enter the subject for the e-mail
5. Enter the message body
-
You can employ ‘Replacement tokens’ to auto-generate items such as the current date or the name of the event

6. Optional Check ‘Send yourself a copy’
7. Click SEND to send the e-mail broadcast to all users signed-up for the event

Check out how the Stacks Community is using Events Management:
Users can download all upcoming events in a .ics file format that can be used to import events into Calendars including Microsoft Office, Google Calendar and iCloud Calendar.
Follow the steps below to download the .ics file:
- Navigate to the Events Page (www.yoursite.com/upcoming-events)
- Click the Download to Calendar button

- Your browser will download an .ics file
- Follow your calendar's instructions for importing an .ics file.
Patrons can generate and subscribe to an RSS feed containing the list of upcoming events directly from your calendar for consumption in an RSS capable reader or use with third party tools compatible with displaying RSS information.
To generate the RSS Feed:
- Navigate to your events page (your.site.com/upcoming-events)
- Click on the RSS button

- An XML document will appear, copy the URL for the page.
- Paste the URL into your RSS Reader.
Prevent Items from appearing in the RSS Feed
You can prevent events that are configured with content protection to ensure that unauthenticated users do not have visibility to the events.
- Login to the site dashboard as an Administrator.
- Navigate to Site Configuration (Dashboard > System Configuration > Site Configuration).
- Select the Feeds tab.
- Check Hide content protected items.

- Click the SAVE CONFIGURATION button to apply the changes.
