Menus
 Processing Request
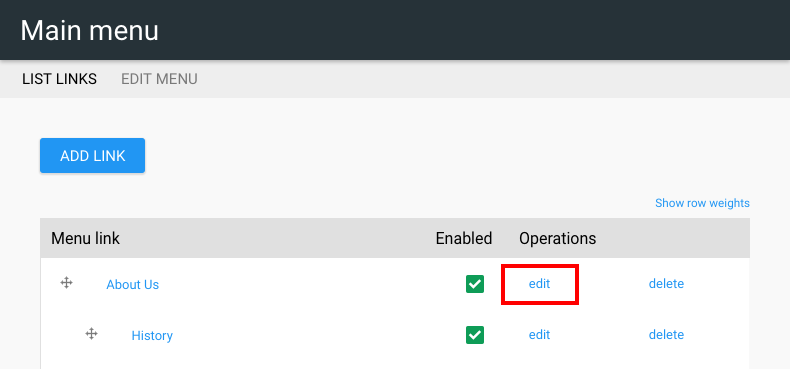
The Menu tile on your dashboard allows you to customize your menus and manage their items and links. When you click on the 'list links' tab, you will see a graphic list of all the links in your menu. You can reorder links from this screen, add or delete links, enable and disable links, and more.
- Navigate to the Menus tile on the dashboard
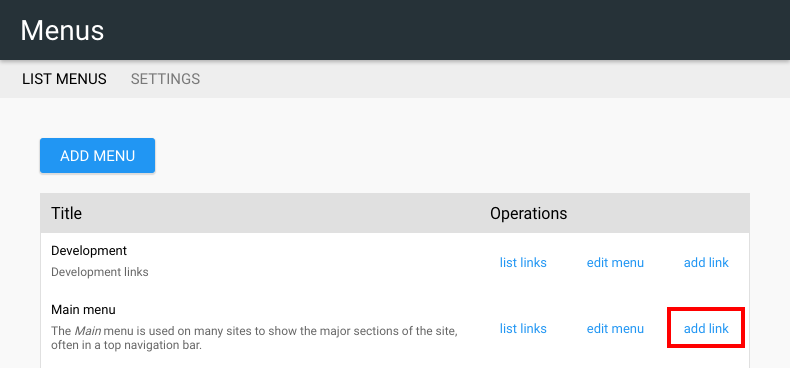
- Click add link to the right of the menu listing

3. Add a menu link title
-
This is the text that will be displayed in the menu

4. Add the path for the link
-
This can be an internal (eg node/add) or external (eg www.EBSCO.com)
-
To enter a non-linkable item, enter <nolink>
-

5. Provide a description for the link
6. Choose whether to enable or disable the link

7. Select the link which will be this menu item’s 'Parent link'

8. Set the ‘Weight’ for the menu item

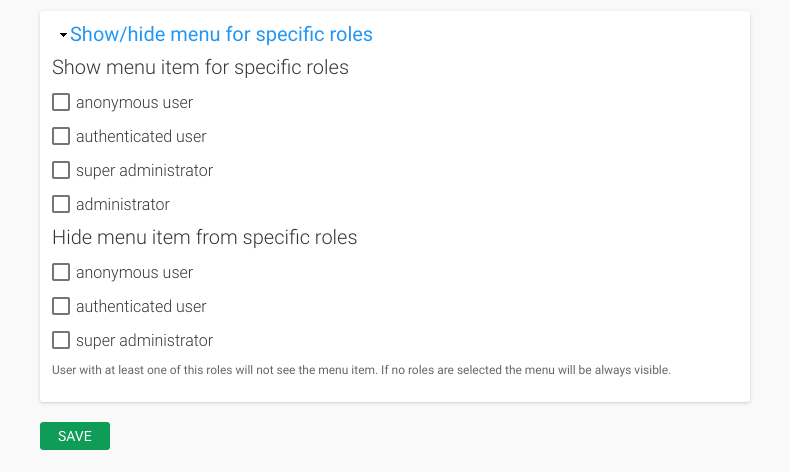
9. Check which user roles the menu item should be shown to or hidden from
10. Click SAVE

- Navigate to the Menus tile on your dashboard
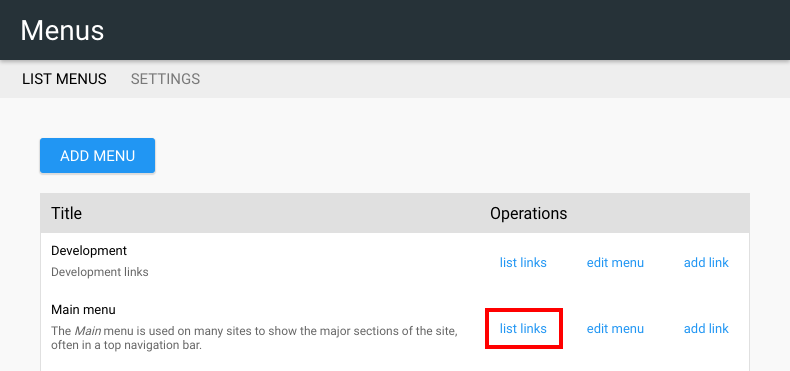
- Click list links to the right of the Menu

3. Click edit to the right of the link

4. Make any necessary changes to the link
5. Click SAVE
6. Click SAVE CONFIGURATION to apply your edits

