10. Click SAVE GROUP to create the Group
V 2.1.4
 Processing Request
Students and/or patrons can reserve your study rooms, meeting rooms, and classrooms with Room Bookings in Stacks. Manage rooms, groups, room categories, and bookings using the Room Bookings tool.
By default, Stacks treats all bookings as ‘approved’ unless expressly declined by a staff member. As such, the user will receive a confirmation email, and the room time slot will no longer appear as available immediately upon the user clicking Book Room. Any Bookings not yet approved or declined will be set as Pending.
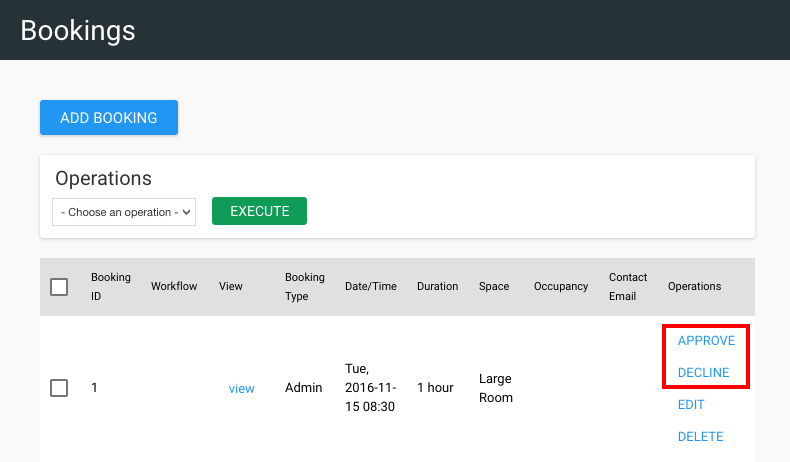
To explicitly approve or decline a booking:
Navigate to the Room Booking tile on your dashboard
Click Approve or Decline to the right of the Booking
This will remove the ‘Pending’ status from the Booking
IF the Booking is declined, the user will be notified with a cancellation email
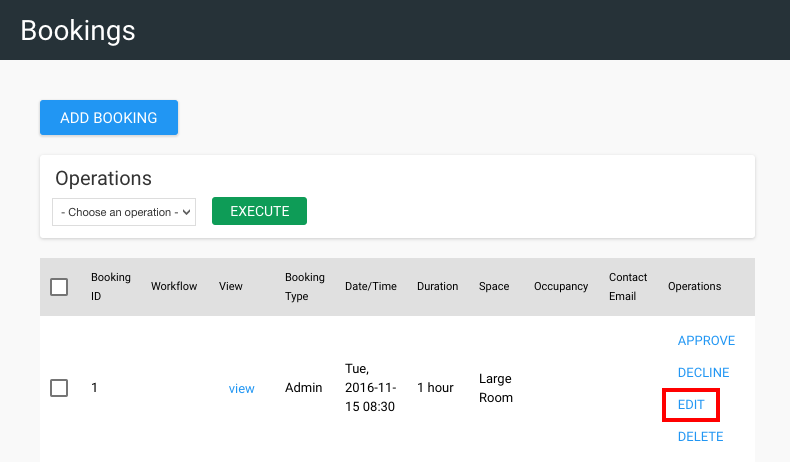
3. Edit the Booking as necessary
4. Click 'SAVE' to apply the edits
The owner of the Booking will not be automatically notified of these changes
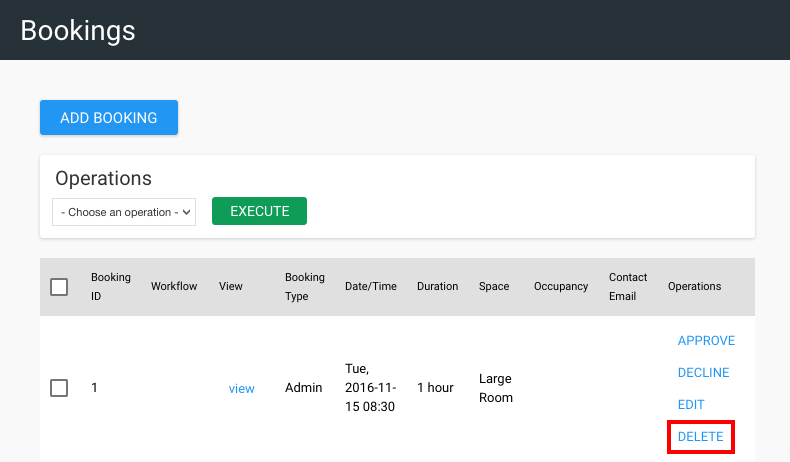
4. Click 'DELETE' to confirm
WARNING: This action should be taken with caution as it will both remove the booking from the list entirely and act as a cancellation, but will not notify user
Rooms may be booked by users or staff members
Book a Room as a User
Click on the 'Bookings' icon in the top-right corner of the website header
If this icon is not visible, you can enable it by navigating to the Systems Configuration tile and opening the Site Configuration tile. Click on the Header Items tab to toggle on the header icons.
![]()
The user does not need to be logged in to book a room
By default, all Rooms will be displayed and sorted by their respective Groups, regardless of availability
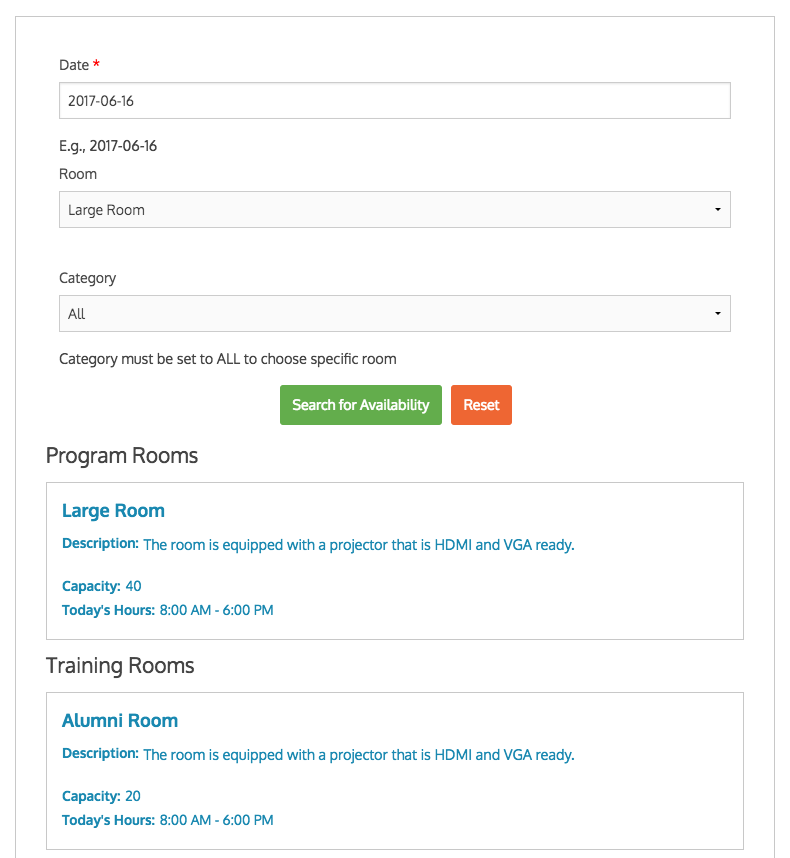
2. To search for an available room, use the filters
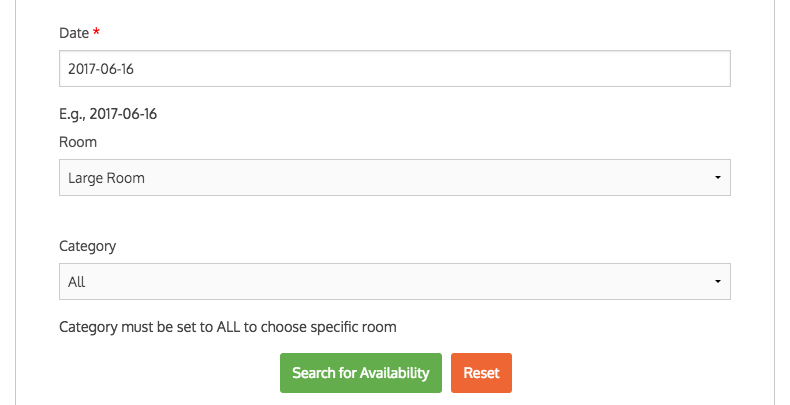
3. Click 'Search for Availability' to filter the list
This will display only those rooms available on the specified date
4. Click on a Room in the list
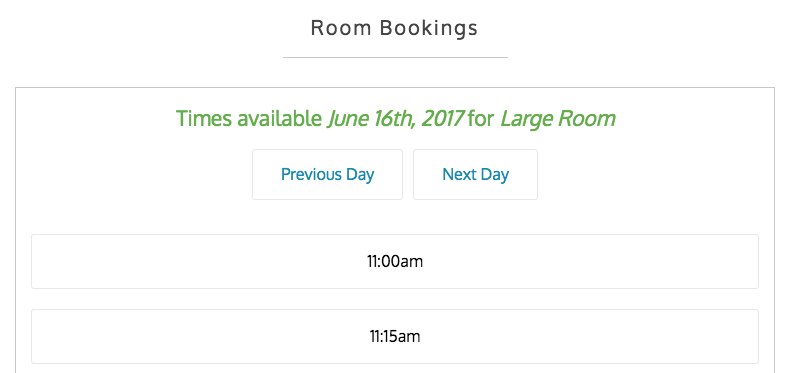
Any available booking times will be displayed
5. Click on a time slot from the list
6. At a minimum, provide:
Optional
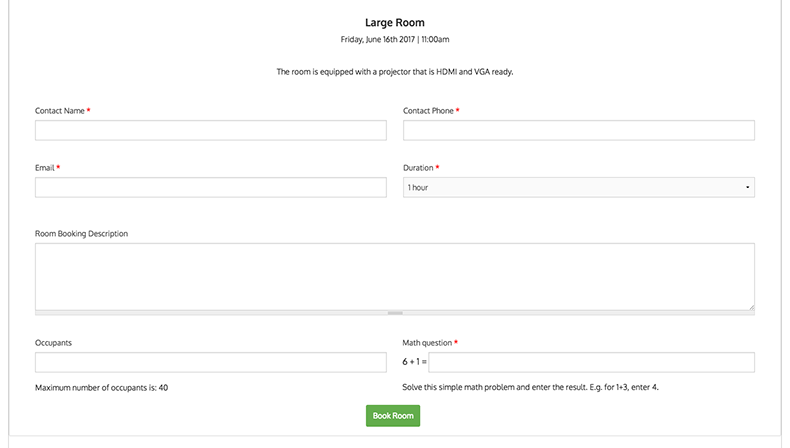
7. Click 'Book Room'
The user will receive a confirmation on their screen as well as a confirmation email


5. When creating the Booking, provide:
Booking Owner
6. Optional
7. Click 'Book Room'
Rooms can be booked by staff for internal programs & events or on behalf of a patron.
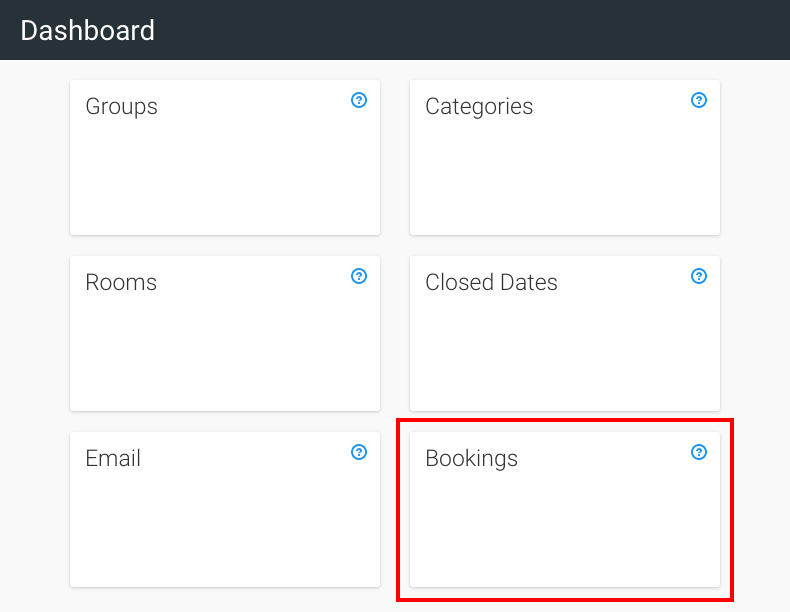
3. Click 'Add Booking'
4. Choose Admin as the Booking type

5. Complete the form, including
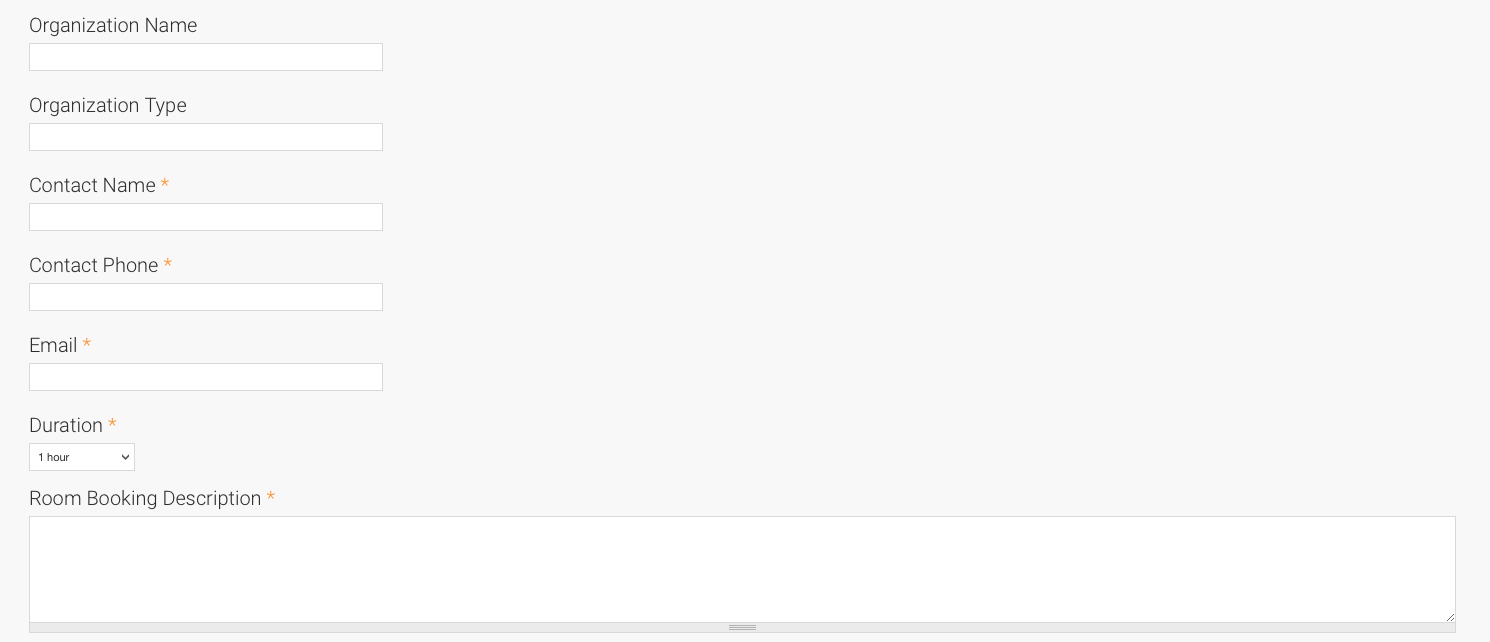

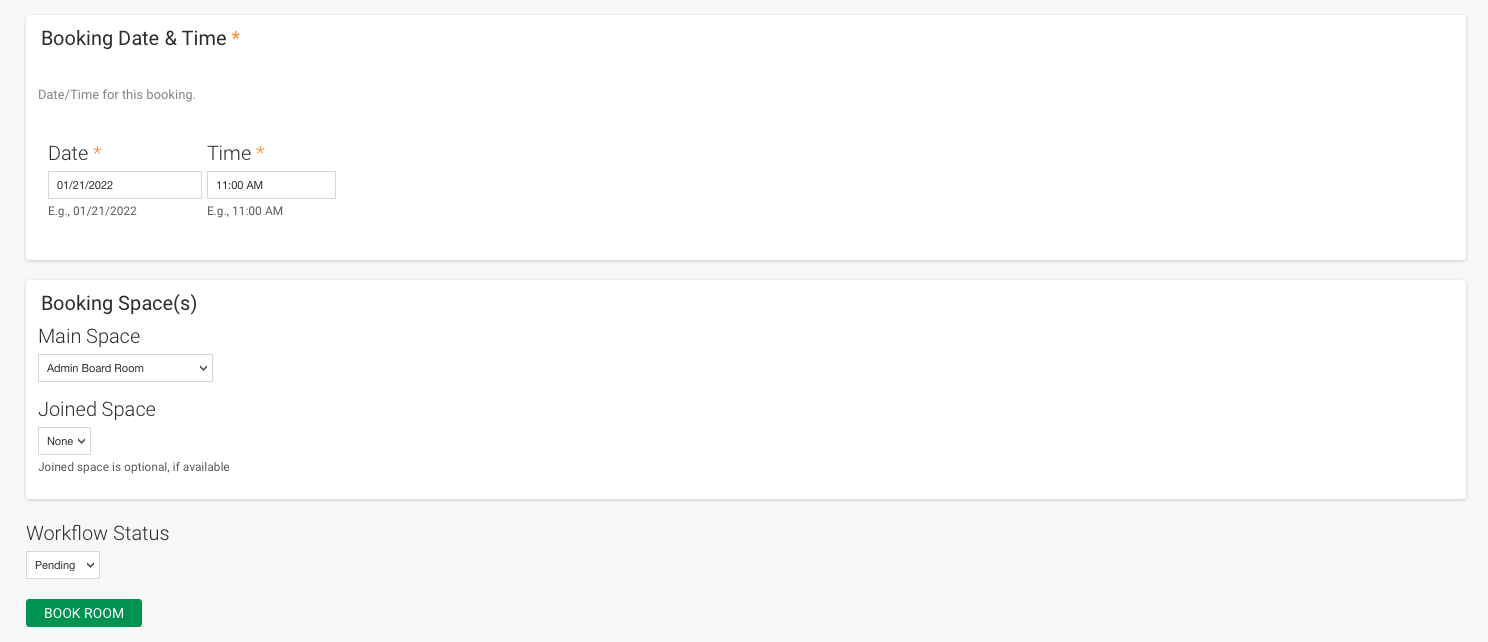
6. Click the Book Room button.
A Room can be described as any space which might be booked by either users or administrators. When defining a Room, these spaces can be of any size and shape, such as a small communal work table or a large presentation hall.

5. Enter a label for the Room
This will be displayed to users, as seen in the screenshot below
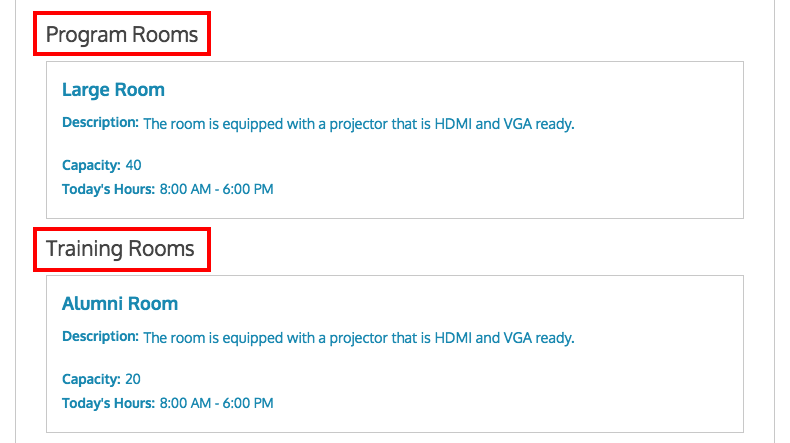
6. Select the Category which best describes the Room
Users are able to search for Rooms based on their Category, as seen in the screenshot below
7. Enter the Room’s capacity
How many people can the room/space hold?

8. Joined Room (Optional) - If the room you are created is part of, or connected to another room, select the name of the room here. This will allow patrons to book a joined room.
NOTE: If this is the first joined room you are creating you will need to create the other room first, then return to this setting and modify it.

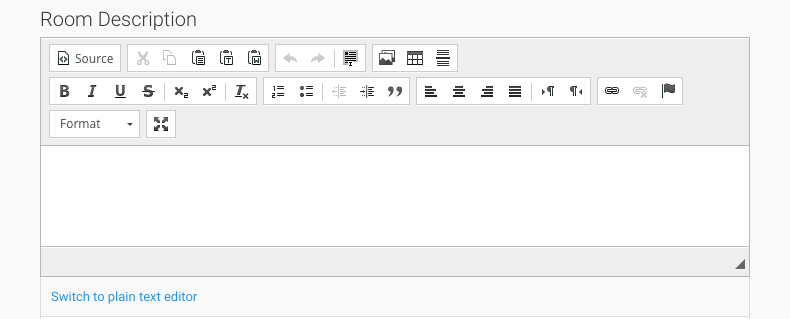
9. Optional - Use the ‘Room Description’ editor to provide information about the Room
This could include instructions for the use of the space, photos, a list of related resources, etc.
These details can be very valuable to your users when booking a Room
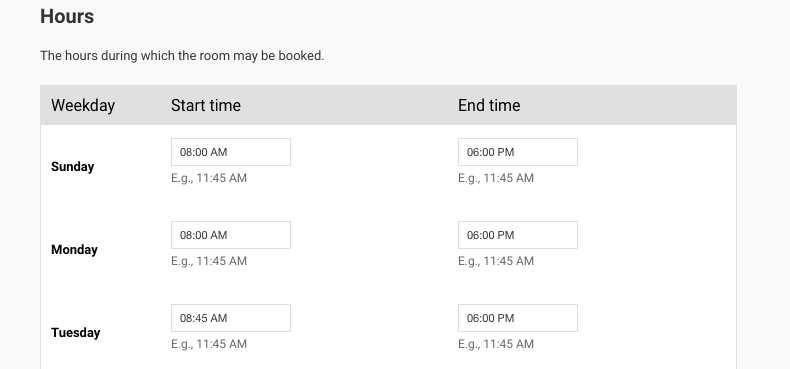
10. Optional - Override the hours set by the Room’s Group in the 'Hours' section
By default, these hours will be inherited from the Room’s Group
11. Optional - Select an Easy Form to incorporate it into the booking process for this room
First, you must create an Easy Form
Then you will be able to select it in the dropdown list

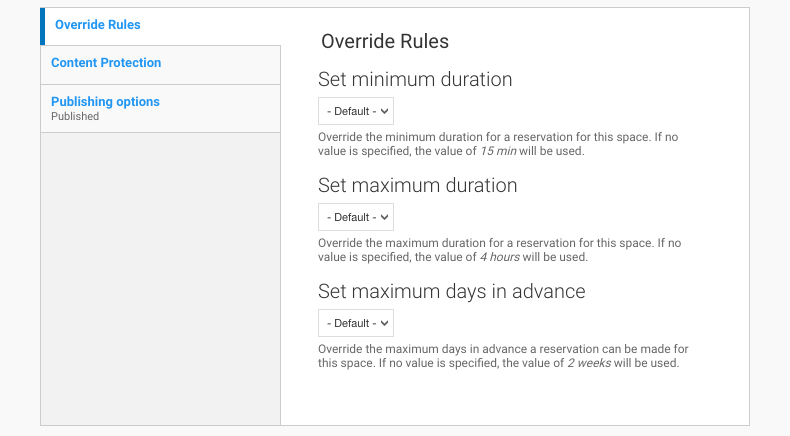
12. Optional - Override the minimum/maximum duration, or maximum days in advance rules set by the Room’s Group in the 'Override Rules' section
By default, these rules will be inherited from the Room’s Group
13. Click 'SAVE ROOM'
Configure the templates for emails sent: New Bookings, Cancelled Bookings, Booking Reminders, and Booking Approvals.
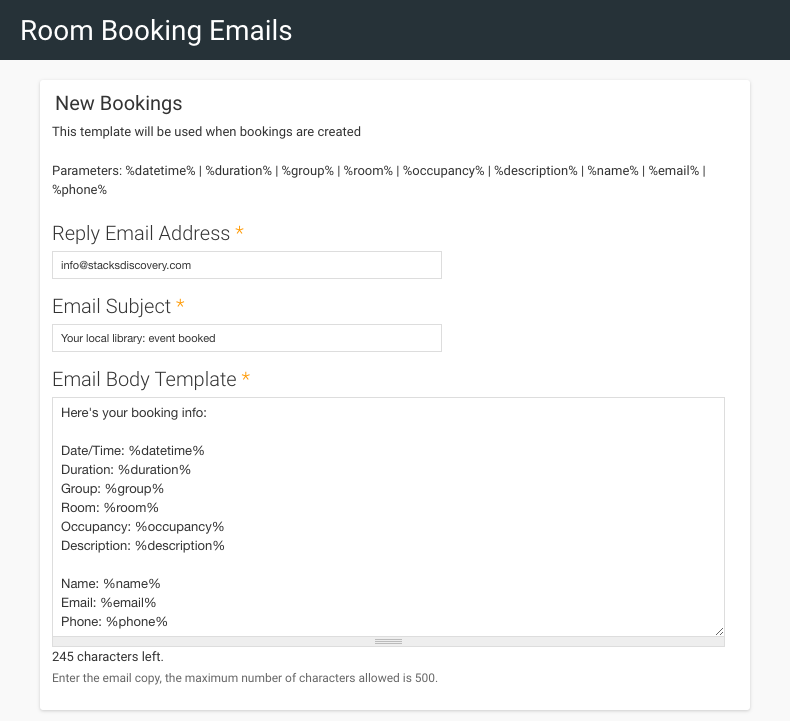
Provide the email which should appear in the ‘Sender’ field of the email in the ‘Reply Email Address’ field
Provide the subject of the email in the ‘Email Subject’ field
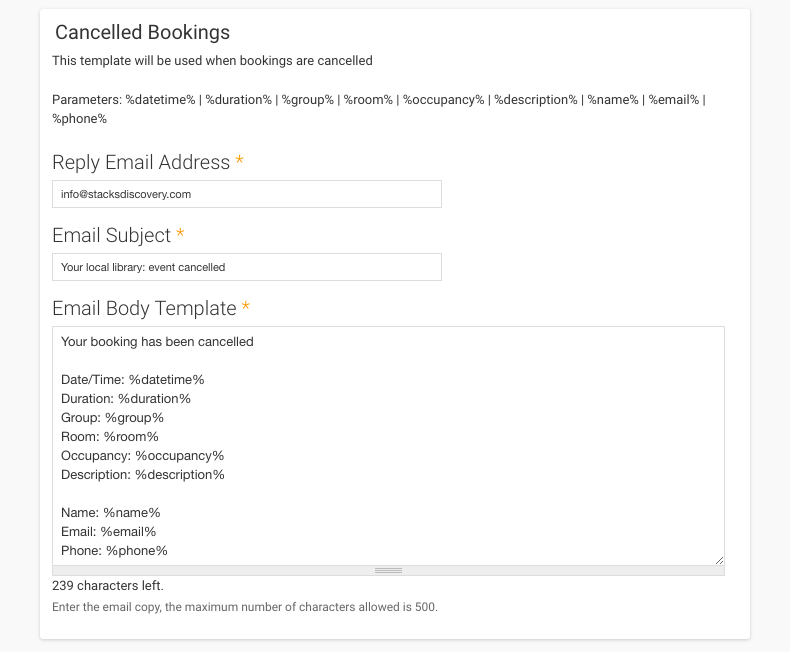
Provide the email which should appear in the Sender field of the email in the ‘Reply Email Address’ field
Provide the subject of the email in the ‘Email Subject’ field
Optional - Edit the body of the email using any of the following parameters
%datetime%
%duration%
%group%
%room%
%occupancy%
%description%
%name%
%email%
%phone%
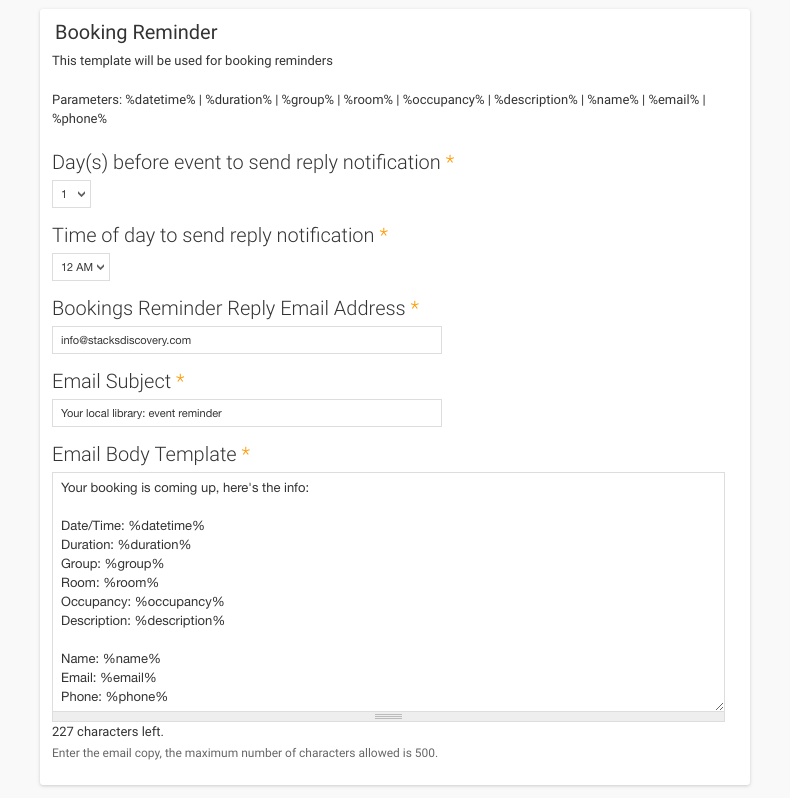
Set the number of days before which the reminder should be sent to the user
Set the time of day the reminder should be sent
Provide the email which should appear in the ‘Sender’ field of the email in the ‘Bookings Reminder Reply E-mail Address’ field
Provide the subject of the email in the ‘Email Subject’ field
Optional - Edit the body of the email using any of the following parameters
%datetime%
%duration%
%group%
%room%
%occupancy%
%description%
%name%
%email%
%phone%
When a staff member approves a Room Booking, this email will be sent to the user who booked the room.
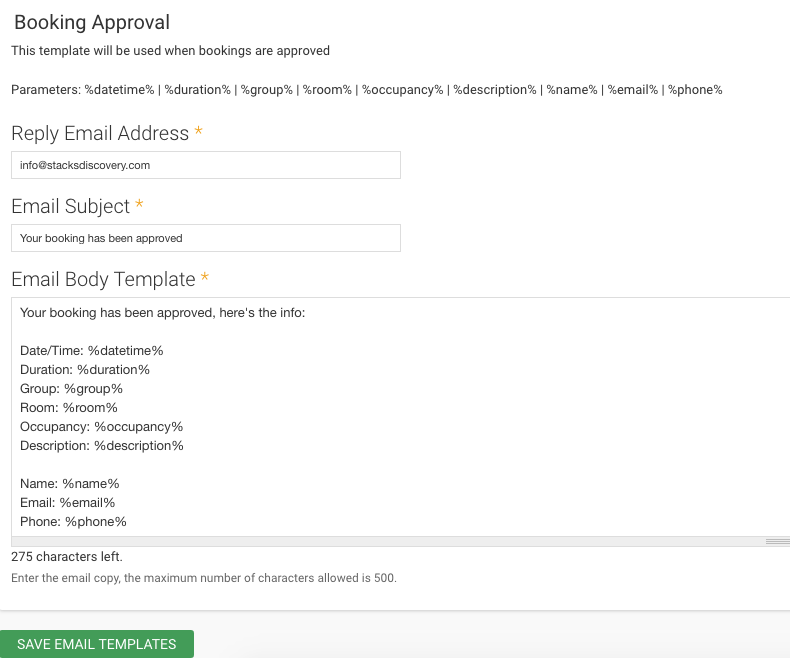
Optional - Edit the body of the email using any of the following parameters:
%datetime%
%duration%
%group%
%room%
%occupancy%
%description%
%name%
%email%
%phone%
You can set dates during which room bookings are not permitted.
Closed dates may be set on a Room-by-Room basis or can be applied to all of your organization’s Rooms at once.
Example: You may choose to have rooms not available during holiday break starting December 25th.
Navigate to the Room Bookings tile on your dashboard
Click the ‘Closed Dates’ tile
Click 'ADD CLOSED RESERVATION'
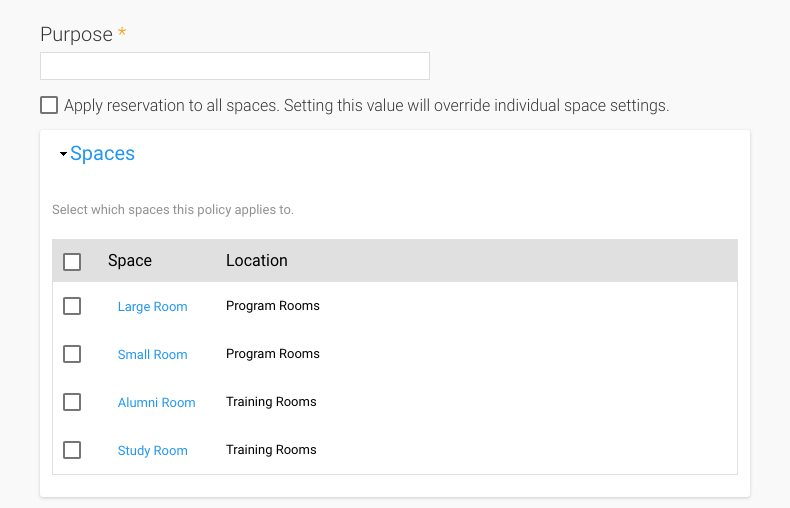
Provide the description for the Closed Date in the ‘Purpose’ field

5. Check the box in the header in the ‘Spaces’ section to apply the Closed Date to all Rooms
OR Check the boxes of the Rooms to which to the Closed Date applies
6. Choose the date and time, or range of dates when the room(s) will be closed to Bookings
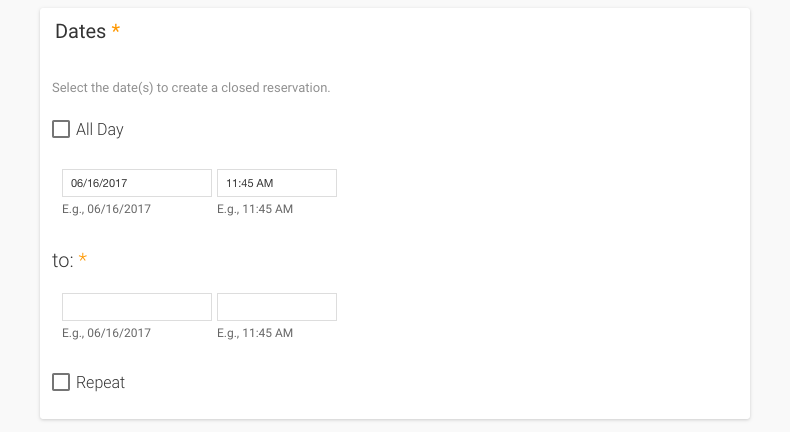
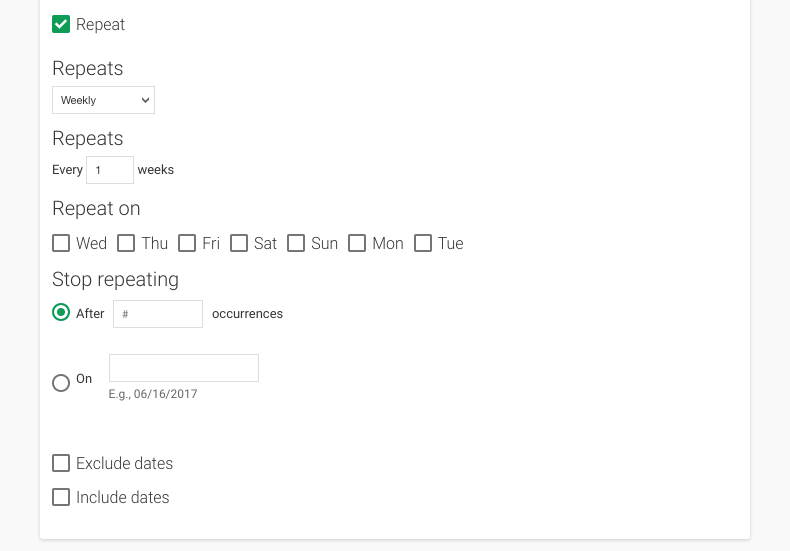
7. If the Closed Date will repeat regularly (eg. a room is closed to bookings on the third day of every month), check the ‘Repeating’ checkbox and provide the details
8. Click 'SAVE RESERVATION'
Groups can be used to logically group similar rooms. This can be helpful when managing many rooms (e.g. Study Rooms).
Navigate to the Room Bookings tile on your dashboard
Click the Group tile
Click ADD GROUP
Provide a title for the Group
This will not be displayed to users

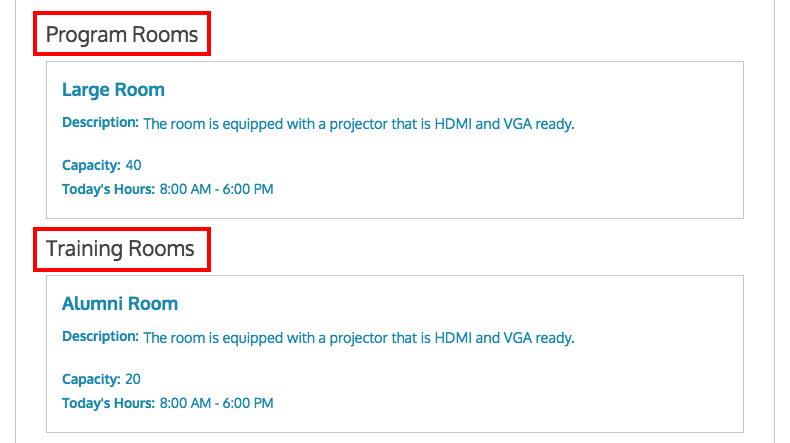
5. Provide a label for the Group
This will be used as the heading for any rooms which you add to the Group and will be displayed to users (as seen in the screenshot below)
This makes it easier for users to find the specific room they need to book
6. Choose whether users should be able to book rooms themselves

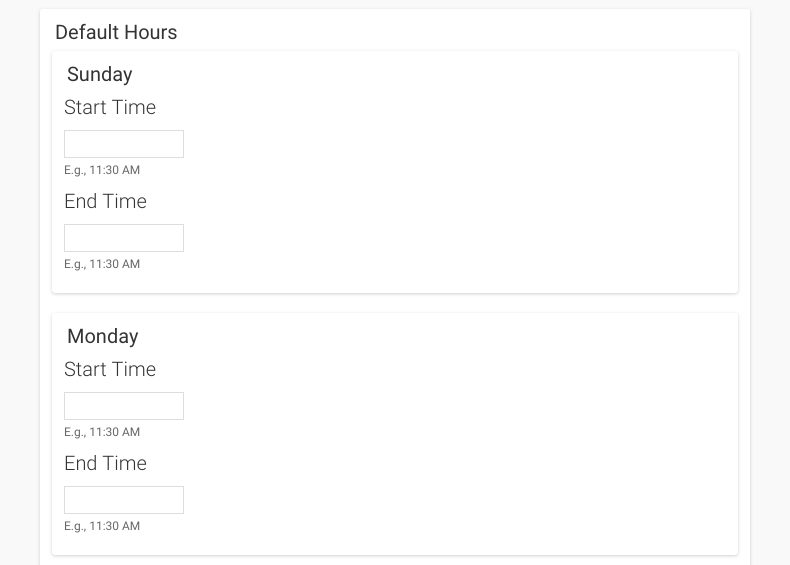
7. Enter the default hours during which rooms in that Group may be booked
These settings can be overwritten on a per-room basis as required
8. Set any ‘Override Rules’
These can be overwritten per room but any rules set here will establish the default behavior. These rules include:
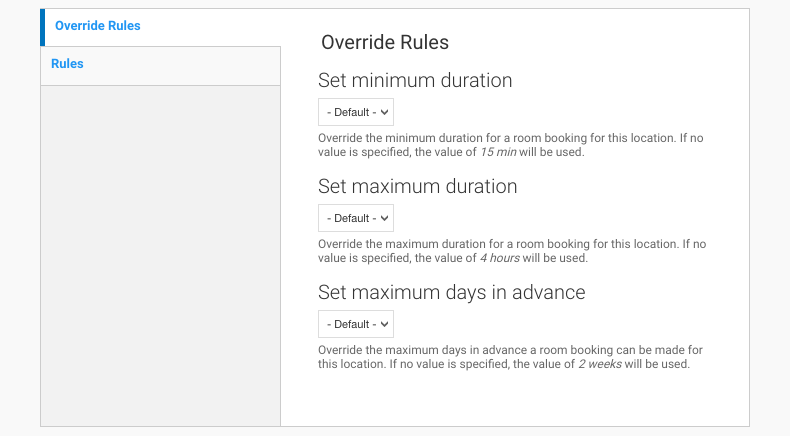
9. Click on the Rules tab to set the maximum reservations per week for any room in this Group

10. Click SAVE GROUP to create the Group
V 2.1.4
Categories can be used to tag rooms with a relevant label. This allows users to quickly find a Room to book (as shown in the screenshot below). Example: Tag a room with Children, Labs, Project Rooms, Study Rooms, etc.
These Category terms mimic most of the functionality of Filter Vocabularies.
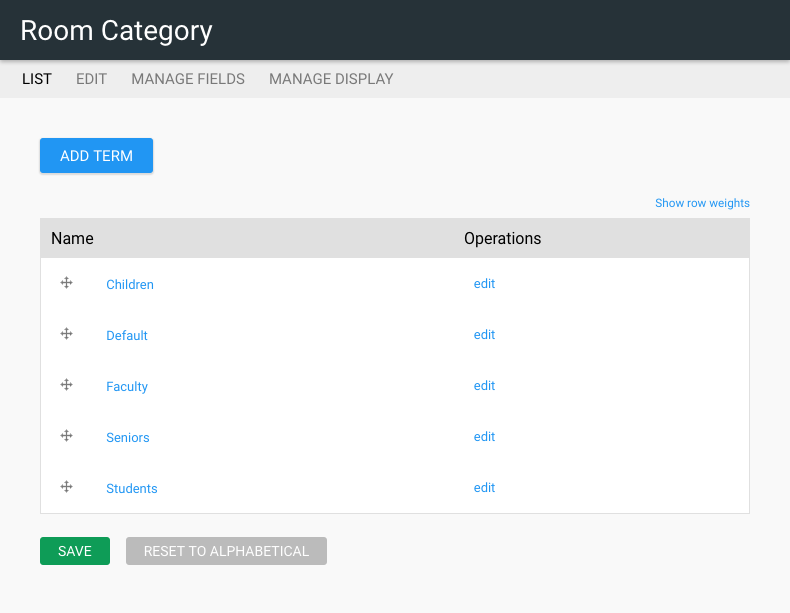
Click on the 'Categories' tile
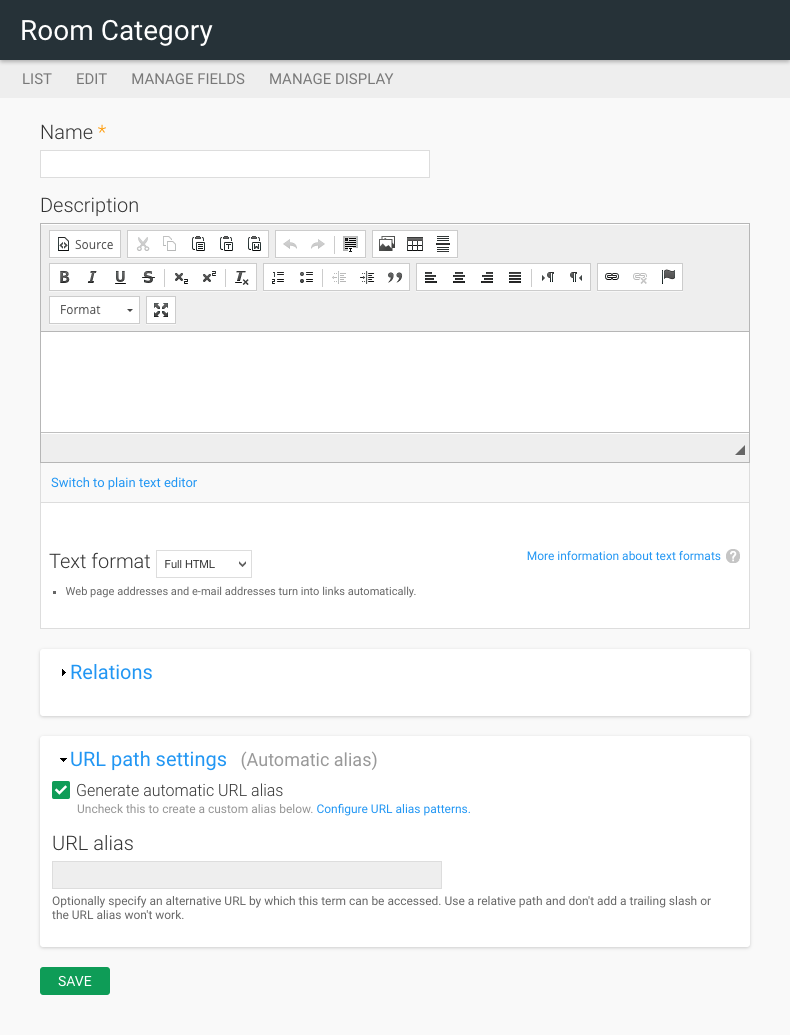
Click the 'ADD TERM' button
Provide the name of the Category
Optional Provide a description of the term. This will only be displayed for administrators and not users
Click 'SAVE'
V 2.1.4
Check out how the Stacks Community is using Room Bookings: