Sliders
 Processing Request
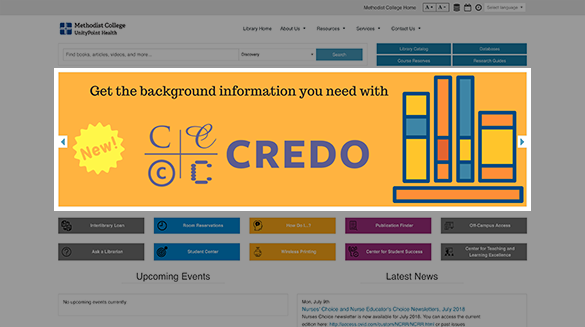
Sliders are a display of a series of images in a large horizontal carousel. Sliders containing more than one slide will automatically rotate through all the images (slides) until the user mouses over or clicks on the image. Sliders are used to call attention to holidays, news, events, or programs.


- Navigate to the Slider tile on your dashboard
- Click 'ADD NEW SLIDER'
- Add a Title to describe your Slider

- Click the checkbox if you would like the title to display above the slider on a Landing Page.
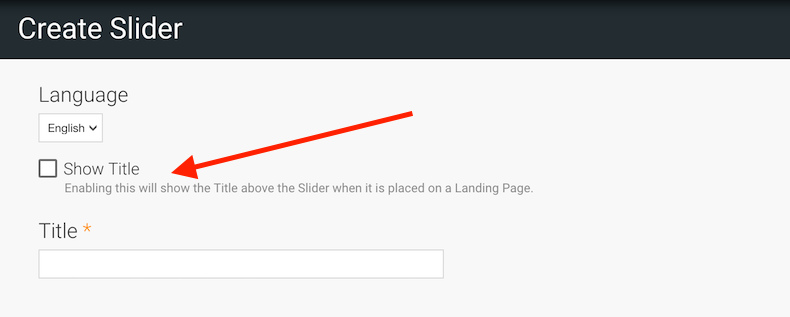
5. Begin adding Slides
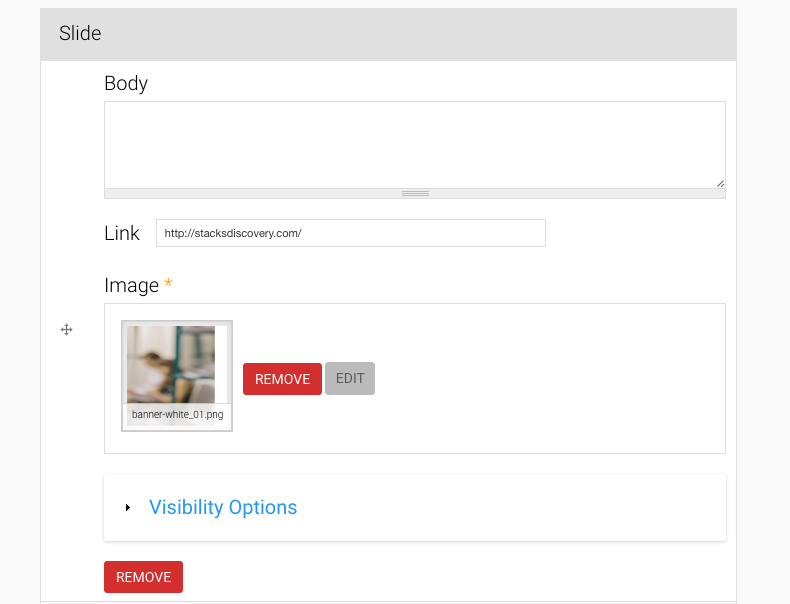
- Use the ‘Body’ field to provide a caption, slogan, catchphrase, or short description for the slider
- Under ‘Link’, add a URL if you want to redirect users if they click on the slide
6. Click 'BROWSE' to add the background image for the slide
-
Note: The image must be under 2MB, 1566 *450 pixels and one of the following image file formats: png, gif, jpg, or jpeg
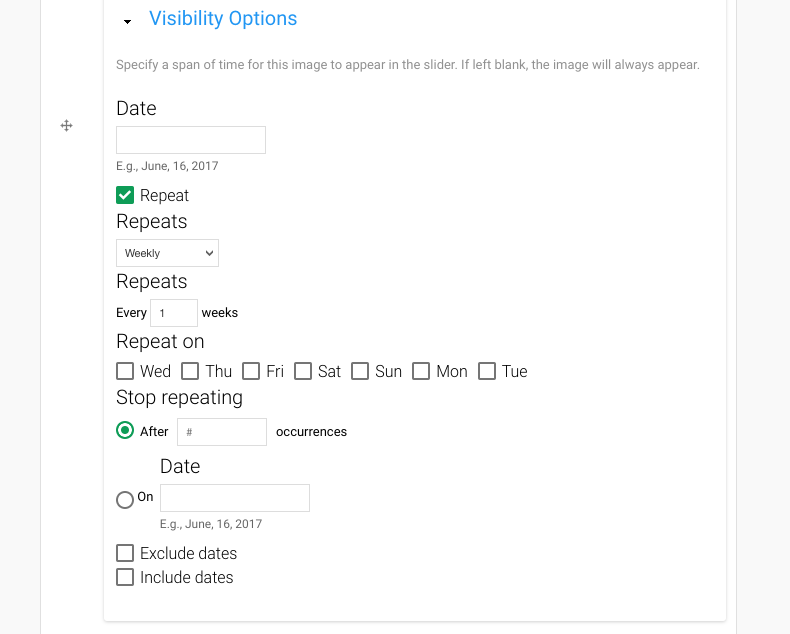
Optional Expand the Visibility Options accordion to set the Publication and/or Expiration date for a specific slide
- When a slide reaches its expiry date, only that slide will be removed from the slider. The remainder of the slides within the slider will remain live until the slider itself expires or they are manually removed or deleted
- If the 'Show End Date' checkbox is unchecked, the slide will inherit the expiry date associated with the overall Slider
- You can choose to have the slide's publication and expiry date repeat; this can be very helpful in publishing temporary content such as monthly or yearly events
- Example: Create a single 'Events' slider, adding slides for all of the events you'd like to promote throughout the year. Set the publication and expiration dates for each slide to automatically publish the slides one month prior to each event, and to expire two days afterward. The slider would now automatically publish and expire the appropriate slides throughout the year without any additional maintenance required.
7. Add as many additional slides as you’d like by clicking on 'ADD ANOTHER ITEM' button and repeating Steps 5 and 6

8. Click 'SAVE' to create your Slider
- Navigate to the Sliders tile on your dashboard
- Navigate to the Sliders tile on your dashboard
- Find the slider you want to edit in the list
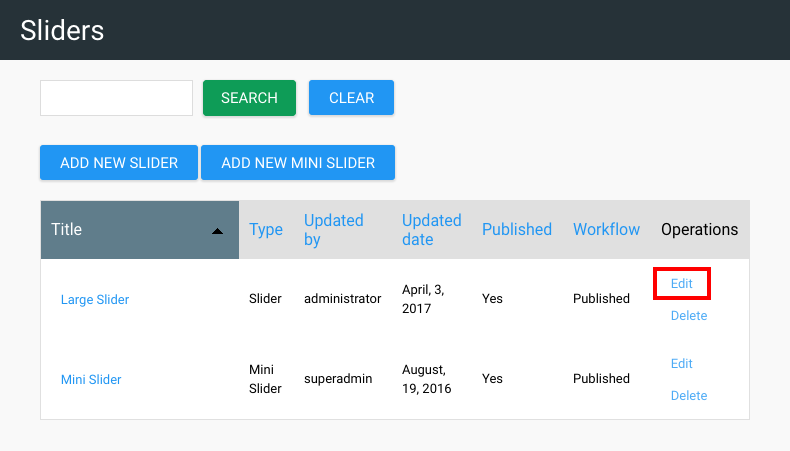
3. Click Edit to the right of the slider
4. Make any necessary changes to the slider
5. Click 'SAVE' to apply your changes
- Navigate to the Sliders tile on your dashboard
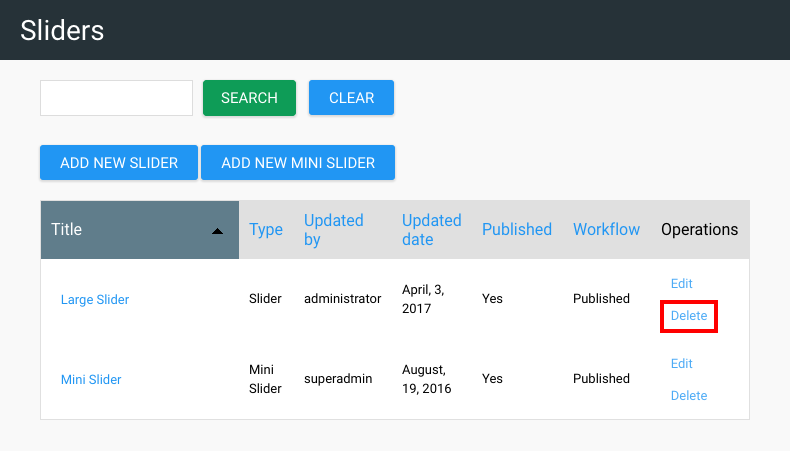
- Click Delete to the right of the slider listing
- Click 'DELETE' to confirm the removal of your slider
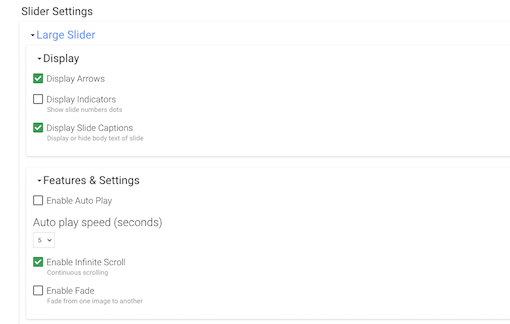
You have options to customize your sliders by toggling these options on/off:
- Arrows - Allow the user to manually scroll to the next slide by clicking on an arrow
- Indicators - Show dots under the slider to indicate how many slides there are and which one the user is currently viewing
- Slide Captions - Display or hide the body text of the slide
- Auto Play - Set the time for each slide to display in seconds
- Infinite Scroll - Continuous scroll from the first slide to the last slide, and repeat
- Fade - Instead of sliding from one slide to another, slides will fade from one image to another image
To access these options, Navigate to your Dashboard and select the 'System Configuration' tile.
- Open the 'System Configuration' tile
- Select the 'Site Configuration' tile
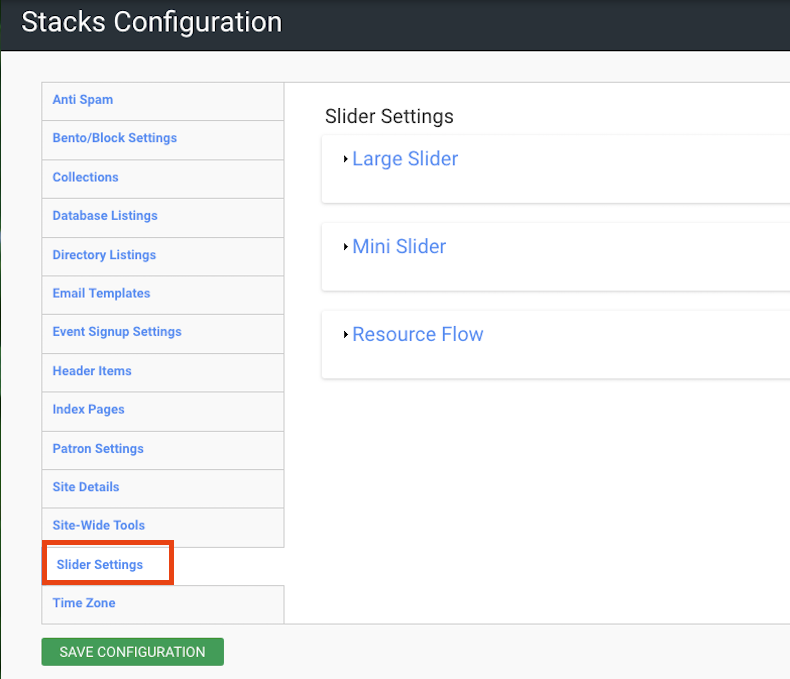
- Select the tab on the left side of the screen called 'Slider Settings'
- Click on the 'Large Slider' tab to open the tab and view the options
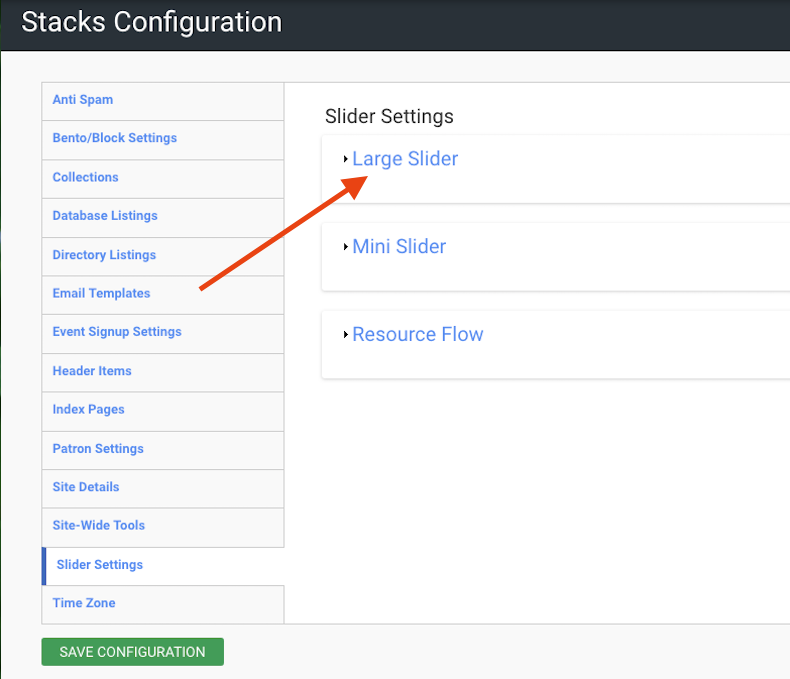
- Click on the boxes to toggle on the features you want to enable
- Note: The options that you choose here will apply to all of the sliders that you create on your site
Check out how the Stacks Community is using Sliders:

