Files
 Processing Request
The Files tile on your dashboard is where you can manage your organization’s media library within Stacks. You can create folders here to organize your images and documents that are loaded to your Stacks website. Find a list of Image Dimensions in our User Manual.
- Navigate to the Files tile on your dashboard
- Click 'ADD FILE'

3. Click 'Choose File' under ’Add file’

4. Browse to find the file on your desktop
5. Click 'OPEN'
6. Choose the folder to which the file should be added
7. Click 'UPLOAD'
8. Click 'NEXT'
9. Choose as to whether you want to keep the existing file name or rename it

10. Provide ‘Alt Text’
-
Alt Text or Alternative text is used by screen readers, search engines, and when the image cannot be loaded. By adding alt text you improve accessibility and search engine optimization.

11. Add ‘Title Text’
-
The title text is displayed when the cursor hovers over an image. Adding title text makes it easier to understand the context of an image and improves usability.

12. Confirm the media folder

13. Include any tags you might want to use to identify the file
14. Click 'SAVE' to add the file to the Media Library

Media Folders can be used to sort and organize the media files you upload to Stacks.
- Navigate to the Files tile on your dashboard
- Click 'MEDIA FOLDERS'

3. Click 'ADD TERM'
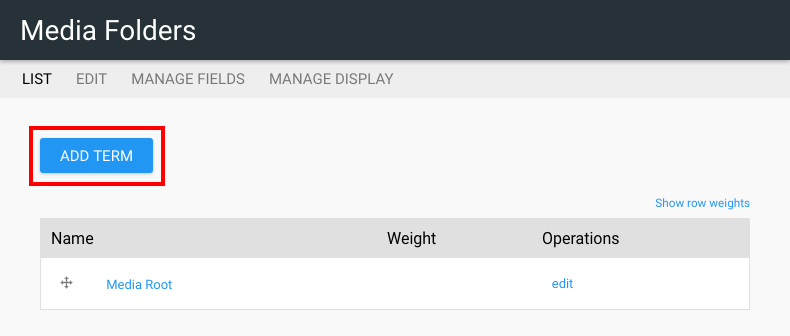
4. At a minimum, provide a 'Name' for the folder

- Optional - IF this folder should be a subfolder of another:
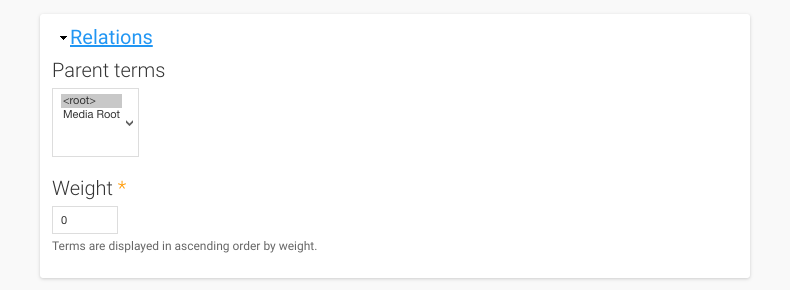
-
Expand the ‘Relations’ drop down
-
Select the parent folder
-
Set the weight
- This is the order the folder should appear in if there are other subfolders
-
Click 'SAVE' to create the media folder
Once uploaded, files can be moved from one media folder to another to assist with organization.
- Navigate to the Files tile on your dashboard
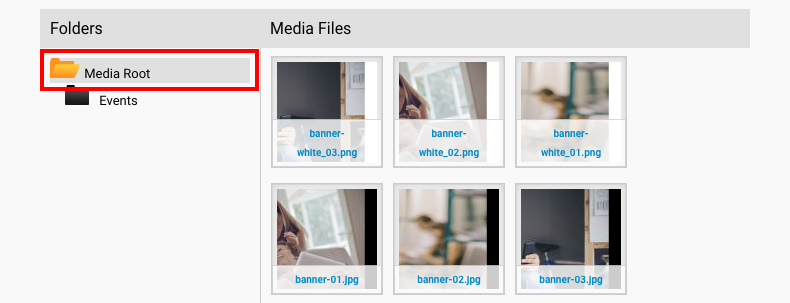
- Click on the media folder which contains the file you would like to move
- Make sure the folder is highlighted in yellow
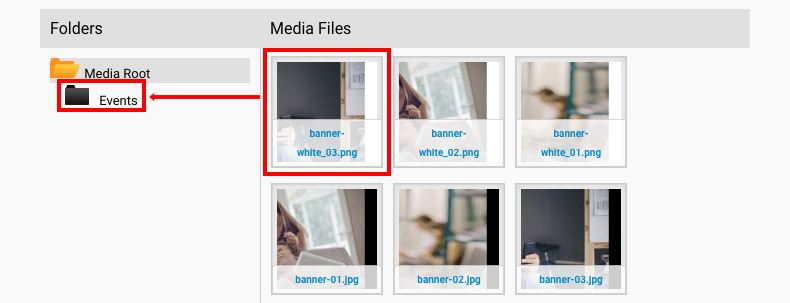
3. Drag the file from the ‘Media Files’ pane into the appropriate folder
Note
The file will now appear in the new folder. This does not affect how the file is used throughout your website.

- Navigate to the Files tile on your dashboard
- Select the appropriate media file from the media library
- Click 'EDIT SELECTED'

4. Make any changes required
5. Click 'SAVE' to apply your edits
Stacks allows you to view a list of each use case of a particular file. This allows you to quickly find any entity associated with a file and edit, update, or delete it accordingly.
- Navigate to the Files tile on your dashboard
- Select the appropriate media file from the media library
- Click 'EDIT SELECTED'
- Click on the 'Usage' tab to view a list of any entity that includes the media file
- Click on the entity's name in the list to be able to view, edit, or delete it

- Navigate to the Files tile on your dashboard
- Select the appropriate media file from the media library
- Click 'DELETE SELECTED'

4. Click 'DELETE' to confirm the removal of this file
- Navigate to the Files tile on your dashboard
- Select the appropriate media file from the media library
- Click 'DOWNLOAD SELECTED' to download the file to your computer
- Navigate to the Files tile on your dashboard
- Drag any media files from the library into the ‘Media Basket”
- You can download media from several different folders at once, using this method
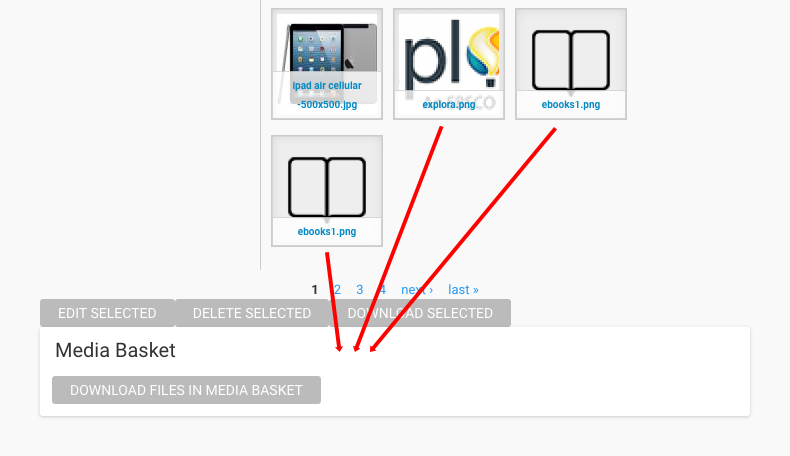
3. Click 'DOWNLOAD FILES IN MEDIA BASKET' to download all of the files to your computer
